SLA Printer Timelapse Cable for Sony Cameras
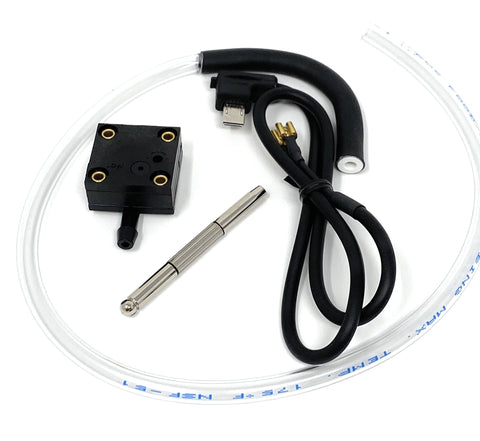
Many have asked us for a "ResinLapse" cable for Sony Cameras. Although not our concept, we make Sony Adapters for use in Skydiving and made these cables as robust as we do for extreme sports. The Cds Photoresistor on this cable detects the UV light of the printer and fires the shutter on the Sony Camera. With the proper camera settings, this will take a photo once a layer and can easily be made into a timelapse video of the build process. Our cables are designed for a single input so they will activate the focus before the shutter is asserted.
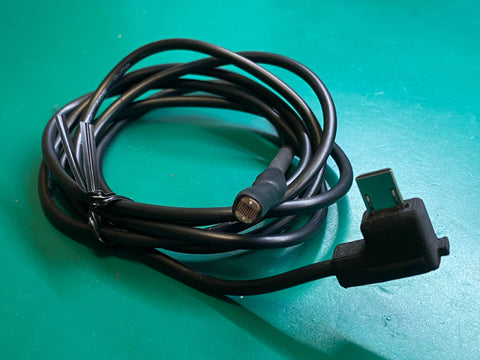
For most resin printers, simply slip the sensor close to the cast made by the printer's UV lamp. Then insert the other end into the Sony Proprietary Multi/Micro USB connector. When the UV lamp cures a layer, the circuit is closed thus activating the shutter release of the camera. For newer printers, you may need to unscrew the back panel slightly and fish the cable inside the cavity. This is generally only a couple screws to loosen. The cable and sensor is insulated so there is no shorting hazard and tape will keep the cable where it needs to be for the life of the printer. Cable is 4 feet long so perfect for most camera & lens pairs.
Out of respect for the ResinLapse solution, and as this is not our market, we only make Resin Printer Timelapse cables for Sony Cameras.
Settings For Sony Cameras
| Setting | Value |
| Focus | Manual - This prevents the focus from changing throughout the print cycle |
| Drive Mode |
Single Shooting - This will force the camera only to take a single shot each cycle. If set to continuous, it will continuously take photos while the UV light is active. You may ruin the camera's shutter quickly if you have it in continuously shooting mode. These cameras do have a limited number of shots. |
| Operating Mode | Manual - Our suggestion is to take a photo where you like the settings and press DISP to see the settings. Switch to manual mode and setup your shutter speed (1/?), Aperture (FX.x), and ISO to the same values. |
Installation
Printer Preparation
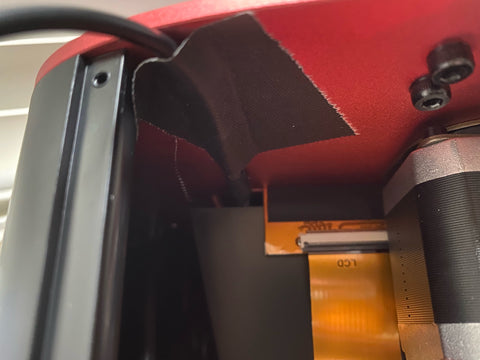
First remove the resin tank from the printer and cover the tank with a UV blocking cover. Then find the tank clean feature of your printer and turn it on. This will activate the UV source. Gently moving the printer around, see if you can't find a hole that shines this light. If not, such as the Elegoo MARS3, you may have to open up the back cover to install the light. We simply taped ours up as seen below, careful not to create a shadow on the LCD.

Camera Testing
With the sensor end of the cable installed, set the camera's Drive Mode to Single Shooting. Then insert the connector into the Proprietary Multi-Micro USB Port. Perform the resin tank cleaning function (with no resin tank installed) and confirm a photo gets captured.
Please note that you may not be able to change settings while the UV lamp is on if the camera is in Auto Focus mode.
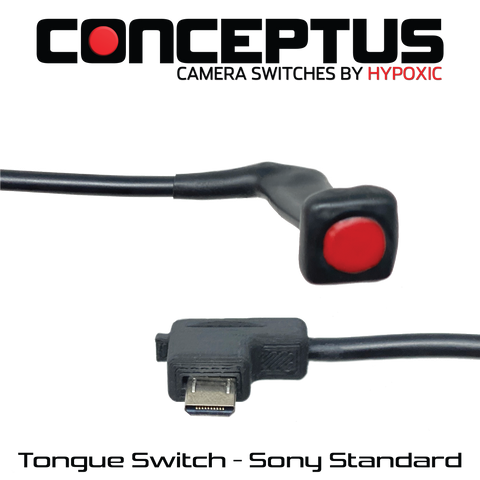
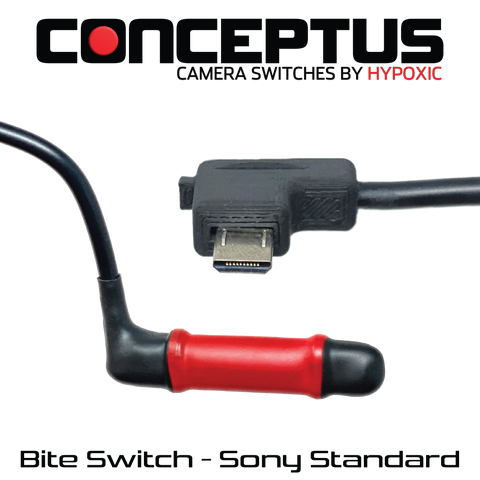
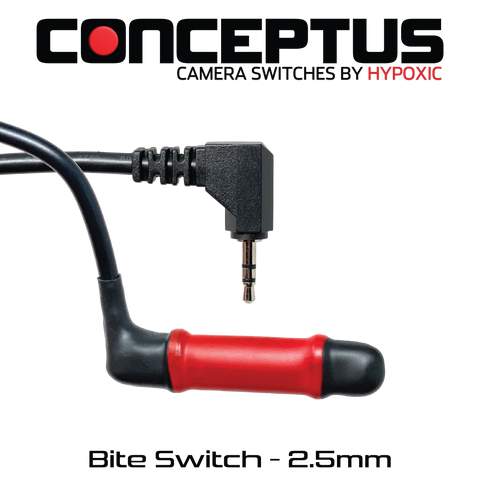
Jack Orientation
Please choose the orientation that best suits your camera and cage if applicable.

We Also Recommend